Let’s face it, no one really enjoys cleaning the toilet. However, it is a necessary task in order to keep your bathroom clean and sanitary. One of the most difficult parts of cleaning a toilet is getting to those hard-to-reach places, like the jets in the bowl. If you’re not careful, you can easily miss a spot and end up with a dirty toilet.
You know that toilet jets can become clogged with mineral deposits from hard water, soap scum, and other debris. Not only is this unsightly, but it can also reduce the efficiency of your toilet and lead to costly repairs. Fortunately, cleaning toilet jets is a relatively easy process that only requires a few household supplies. With a little elbow grease, you can have your toilet jets sparkling clean in no time! Now, let’s get started with – How to clean toilet jets in the easiest ways.
What you will Need To Clean Toilet Jets
-Toilet brush
-Plunger
-Coat hanger or wire
-White vinegar
-Baking soda
-Rubber gloves
-Eye protection
Step 1: Remove the Toilet Bowl Lid
The first step is to remove the toilet bowl lid so that you can access the jets. Set the lid aside in a safe place where it will not get damaged.
Step 2: Use a Toilet Brush to Scrub Away Debris
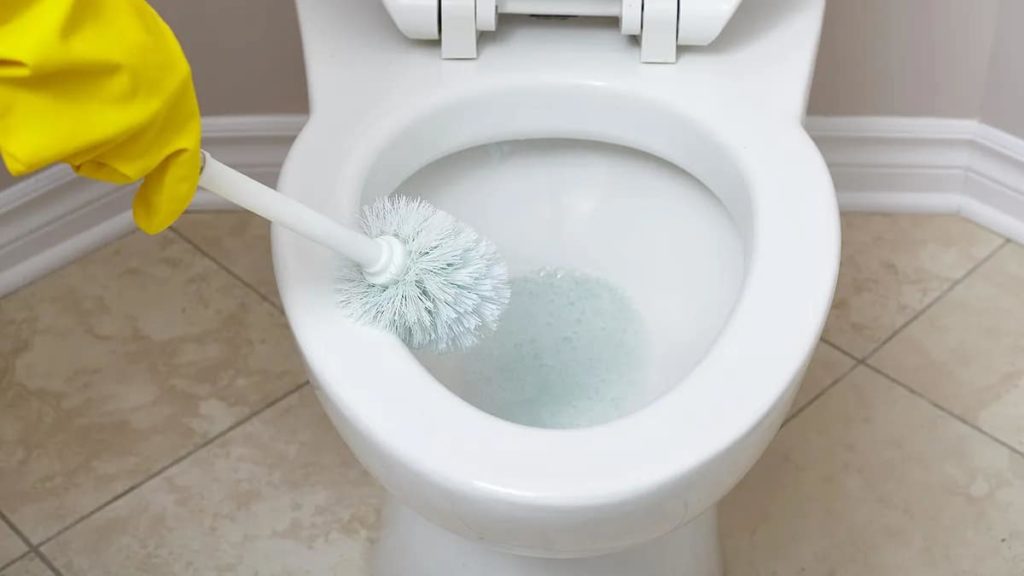
Next, use a toilet brush to scrub away any debris that may be clinging to the jets. Be sure to get into all of the nooks and crannies so that no dirt is left behind. If necessary, you can use an old toothbrush to reach tight spaces. Once you have finished scrubbing, flush the toilet to rinse away any debris that has been loosened up.
Step 3: Clear Away Obstructions with a Plunger
If there are any obstructions blocking the jets, use a plunger to try and dislodge them. Pump the plunger up and down vigorously until the obstruction has been cleared. If the plunger does not seem to be doing the trick, you may need to use a coat hanger or wire to fish out the obstruction.
Step 4: Soak Jets in Vinegar Solution
To remove stubborn mineral deposits, create a vinegar solution by mixing equal parts white vinegar and water. Submerge the jets in the solution and let them soak for at least 30 minutes. After they have soaked, use an old toothbrush to scrub away any remaining deposits. Flush the toilet to rinse away the vinegar solution.
Step 5: Create a Baking Soda Paste
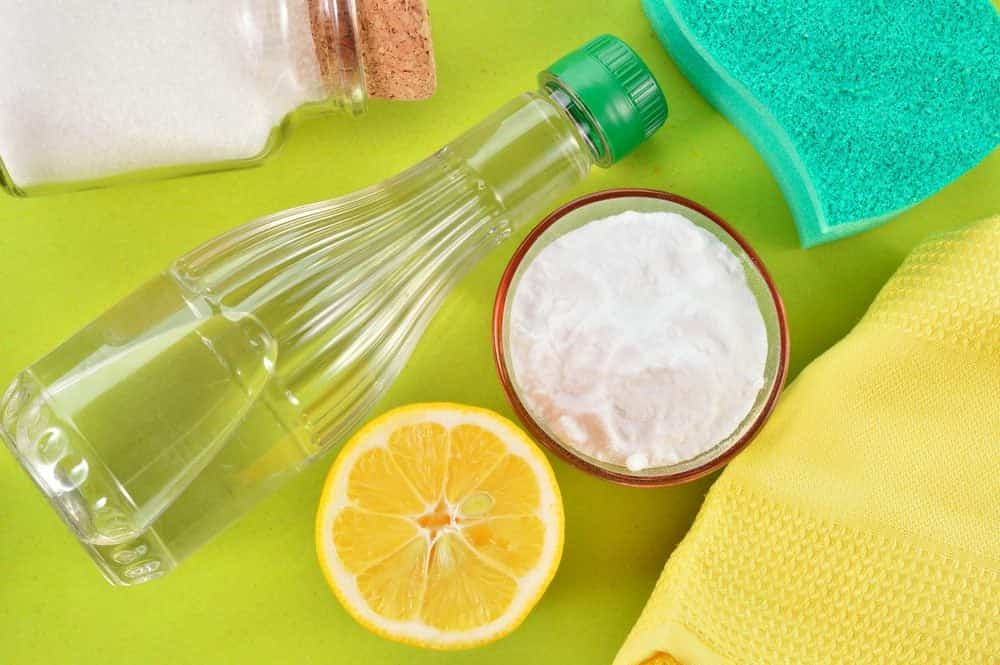
If there are still stubborn deposits remaining on the jets after soaking them in vinegar, you can try using a baking soda paste. To make the paste, mix together 1 part baking soda and 2 parts water until it forms a thick consistency. Apply the paste to the jets and let it sit for 15 minutes before scrubbing with an old toothbrush. Rinse away the paste with water and flush the toilet once again.
So, that’s it for – How to clean toilet jets in the most hygienic way possible. Now let’s understand how to know if your toilet jets are clogged.
Also, read- How to Snake a Toilet With The Uses of Drain Snake?
How to tell if your Toilet Jets are Clogged?
There are a few signs that indicate your toilet jets may be clogged. If you notice any of the following, it’s time to take a closer look.
– Your toilet doesn’t seem to be flushing as well as it used to. This is often the first sign that something is wrong with your toilet jets. If they’re clogged, your toilet won’t be able to flush as effectively, which can lead to problems down the line.
– There is water pooling around the base of your toilet. This is another early sign of a problem. If water is seeping out from under your toilet, it’s likely because the jets are clogged and not allowing water to pass through as it should.
– Your toilet is making strange noises. If you hear gurgling or bubbling sounds coming from your toilet, it’s a good indication that the jets are clogged. These sounds occur because air is being forced through the blockage in the jets, which causes the bubbling sound.
If you notice any of these signs, don’t delay in taking action. The longer you wait, the worse the problem will get and the more difficult it will be to fix.
How to Clean under the Rim of the Toilet?
Before you get started, there are a few things you’ll need to gather:
– Rubber gloves
– A toilet brush
– A small bowl or cup
– Baking soda
– White vinegar
– Hydrogen peroxide (optional)
– A clean cloth or paper towels
– Disinfectant spray (optional)
Steps on How to Clean under Toilet Rim
Step 1: Put on your Gloves
The first step is to put on your rubber gloves. This will protect your hands from any bacteria that might be lurking under the rim of the toilet.
Step 2: Scoop Out the Debris
Use your toilet brush to scoop out any debris that has accumulated under the rim of the toilet. Be sure to empty the contents of the brush into the bowl or cup as you go.
Step 3: Sprinkle Baking Soda around the Rim
Next, sprinkle some baking soda around the inside of the toilet seat. Baking soda is a natural cleanser and will help to break down any dirt or grime that’s built up under the rim. Allow the baking soda to sit for a few minutes before proceeding to step four.
Step 4: Pour Vinegar into the Toilet Bowl
After a few minutes have passed, it’s time to pour vinegar into the toilet bowl. The vinegar will react with the baking soda and create a foaming action that will help to loosen any stubborn dirt and grime.
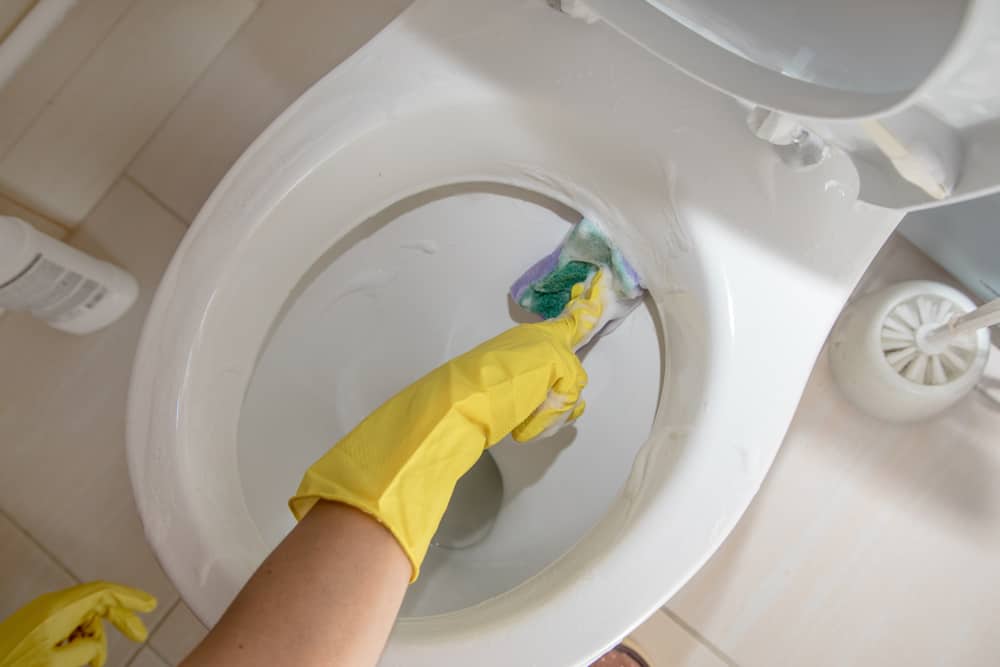
Step 5: Scrub Under the Rim with a Toilet Brush
Once you’ve poured in the vinegar, use your toilet brush to scrub under the rim of the toilet bowl. Be sure to get into all of those nooks and crannies!
Step 6: Rinse with Hydrogen Peroxide
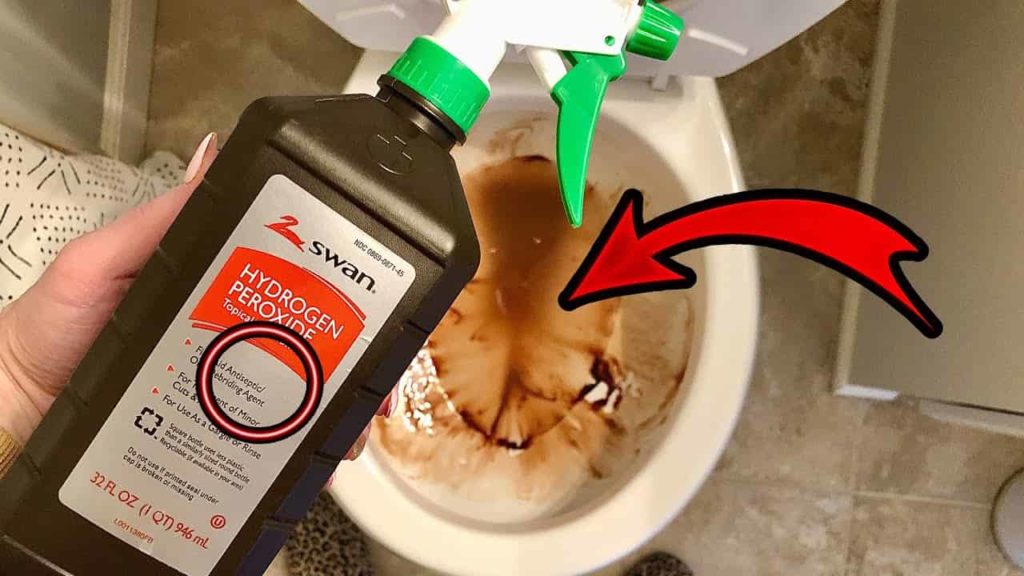
To disinfect as you clean, add hydrogen peroxide to the mix. Simply pour it into the toilet bowl and allow it to sit for a minute or two before flushing.
Step 7: Wipe Down the Outside of The Toilet Bowl
Once you’ve finished scrubbing under the rim, take a clean cloth or paper towel and wipe down the outside of the toilet bowl. This will remove any residue that might be left behind from the cleaning process.
Step 8: Give Everything A Final Rinse
To remove any lingering dirt or grime, flush the toilet and give everything a final rinse with clean water. If desired, you can also spray down everything with some disinfectant spray before giving everything a final wipe with a clean cloth or paper towel.
Some Last Words
Although it’s not the most glamorous of tasks, cleaning your toilet jets is an important part of keeping your plumbing in good condition. By following these simple steps, you can easily clean the jets and keep your bathroom looking and smelling fresh. If you run into any problems or have any questions, be sure to leave a comment below – we’d love to help!
Frequently Asked Questions
Q1. Why is my toilet water brown?
In most cases, brown toilet water is caused by the rust in the pipes. Rust is a common problem in older homes with iron pipes, and it can cause the water to become discolored. If you have rust in your pipes, it’s important to have them replaced as soon as possible to avoid further damage.
In some cases, brown toilet water may also be caused by high levels of minerals in the water supply. This is not a health hazard, but it can be unpleasant. If you notice that your toilet water is brown on a regular basis, you should contact your local water company to have the water tested.
Q2. Can you use CLR for toilet jet cleaning?
CLR is a powerful cleaning solution that is safe to use on a variety of surfaces, including toilets. To clean toilet jets with CLR, simply apply the solution to the jets and let them sit for several minutes. The CLR will break down any build-up or deposits on the jets, making them look like new again. For best results, flush the toilet before scrubbing the jets with a brush. Rinse away any residue with clean water and enjoy your like-new toilet.