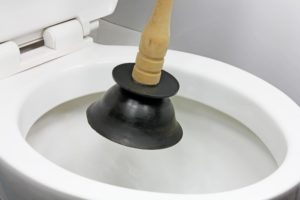
Plunger didn’t help you in fixing the clogged toilet? Use a plumbing snake to fix the issue. In case you have worked hard to fix the clogged toilet and it has clogged again after some time, it’s time to use a drain snake and unclog it properly. You may also know drain snakes as drain augers, which are very easily available. In this post, we have explained to you how to snake a toilet step by step. Check out the whole guide properly.
Tools that You Need To Snake a Toilet
So before we explain the process to you, here is a list of all the materials that you need.
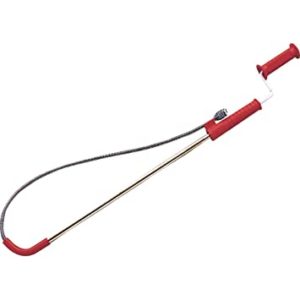
- 20-25 foot drain auger
- Rags
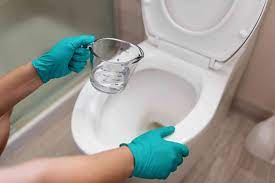
- Drain cleaners
- Bucket
- Rubber gloves
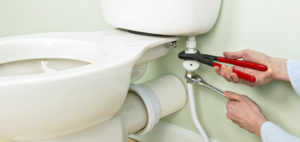
- Adjustable pliers
Steps to Prepare the Toilet to Use Drain Snakes
Now, before you snake the toilet, you need to prepare it for the process. Below we have mentioned all the steps that you need to perform to prepare it.
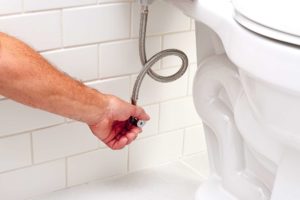
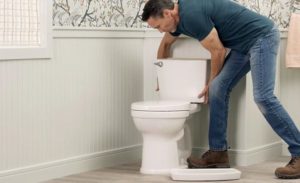
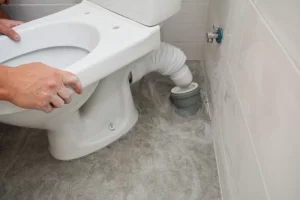
- To start with, you will have to check the sink and flush it. You need to check how the water drains from these pipes. Usually, you may find a U-shaped pipe under the toilet sink. In case you have a modern toilet, a clean-out plug may be present to make it easier for you.
- The next thing that you need to do is to take a bucket and place it under the sink. Keep the rags near you because there are chances that the water will spill out.
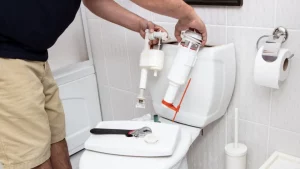
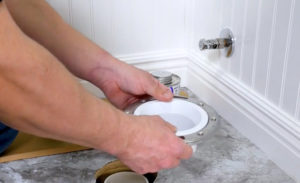
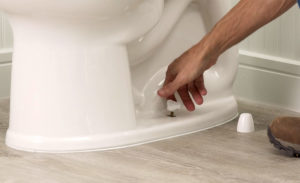
- Next, in case it has a clean-out plug, use the plier and turn it clockwise. It will then help you to remove the plug properly. Other than this, if it does not have a clean-out plug, you will have to detach the U-shaped sink. For this, you will have to move the nuts on both ends. You will now have to loosen the trap properly so that there is no breakage.
- Now, wait until the whole water is drained before proceeding with the process.
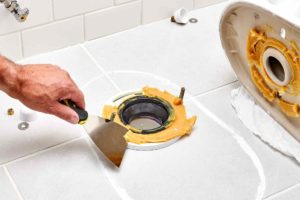
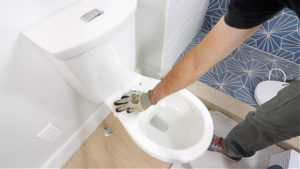
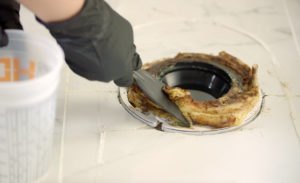
- There are chances that the sink trap has different debris stuck that can block it completely. Clean it properly. In case you are not able to clean it and it is still blocked, you will have to use the drain snake.
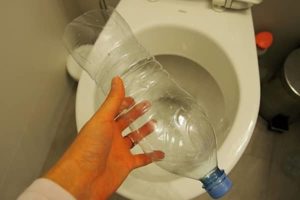
Also, read- How to Unclog a Toilet Without a Plunger- 10 Quick Ways
Steps to Snake the Toilet with Drain Snake
Now that you have prepared the toilet properly, you can now use the snake drain to unclog the toilet. Below we have mentioned all the steps to snake a toilet using a drain snake. Check out the full process below.
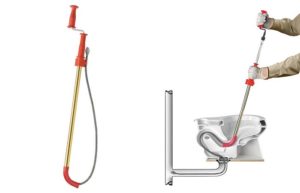
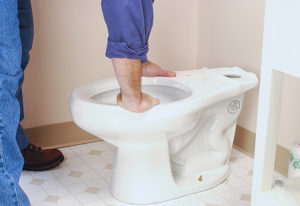
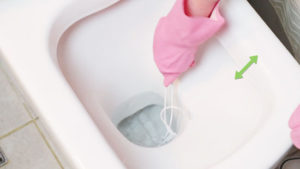
- To start with, you will have to feed the snake’s head into the pipe properly. Make sure to do this slowly lowering up to 12 inches. You will have to spin the handle of the snake drain clockwise. Also, you need to rotate it at a continuous speed.
- You will then have to wait till you hit the obstacle. This blockage may be the reason for the clogged toilet. Make sure that you do not put the pipe very hard so that you do not damage the toilet pipe.
- Next, when you will hit the blockage, you need to wiggle or rotate the snake drain’s head and push the blockage and try to break it. In case you hear any scraping noises, stop immediately.
- Now, you will have to adjust the location of the drain auger’s head and then break the blockage. You will have to turn it clockwise and try to push the blockage.
- After this, when you can remove the blockage you need to take the drain snake out and then check if there is any blockage remaining on the head of the auger. If there is, you need to clean the drain snake.
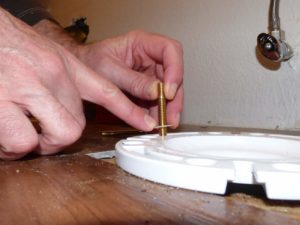
- Now, you will have to put the tape around the thread so that you can make there is a tight seal. You will then have to screw back the plugs and assemble the tank parts.
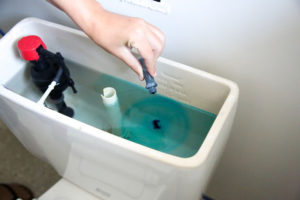
- In the end, you will have to start the water supply and make sure that the sink is drained properly. You will then have to flush the toilet. Other than this, there are chances that the blockage from both the drain snake and drain cleaner remove simultaneously. Make sure to use the correct products because they can damage the toilet pipes.
You can also read- Best Tankless Toilets Reviewed
Cost of Drain Snake
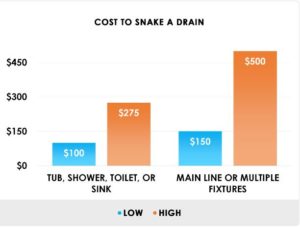
The drain snake is easily available for you in almost every hardware store. The cost of the drain snake is approximately 20$ or up to 50$. Other than this, if you switch to a drain auger, you will have to pay a bit more for it.
Winding Up
So, all the steps mentioned above will help you to snake the toilet easily. In case you are still not able to unclog the toilet, you can seek help from a professional plumber. We hope that this article was helpful.
FAQs
How much does it cost to snake a toilet?
It can range between 20 to 50 dollars. If you switch to the drain anger then it could cost more.
How to get rid of a snake in a toilet?
For this, you can use homemade solutions such as caustic soda, sulfur powder, etc. There are more ways to prevent snakes from appearing in the toilet as kerosine oil and engine oil.
Where do you put a snake in a toilet?
You can simply do it. You can put the snake in the seat through its opening. It is used only when the clogging is unable to clear with a plunger.