If you have an uneven toilet, it can lead to all sorts of problems. From leaks to simply making it difficult to use, an uneven toilet is more than just a nuisance. Besides being unsightly, it can also be dangerous, as anyone who has ever slipped on a wet bathroom floor can attest.
The good news is that there is an easy fix for this common problem: Shimming.
Whether your toilet is wobbly because it wasn’t installed level or it has shifted over time, shimming is an easy way to fix the problem. In this blog, we will show you different ways to shim a toilet so that it is level and stable.
Possible Reasons why you may need to Shim a Toilet
Here are seven reasons why you may need to shim a toilet:
- The floor around the toilet is uneven.
- The bathroom floor is old and has begun to settle.
- The subfloor is damaged or rotted.
- The flange is loose or broken.
- The closet bolts are loose.
- There is too much wax on the closet bolts or on the flange.
- The toilet was not installed level.
If you find yourself in any of these situations, shimming your toilet may be the best solution. With just a few tools and a bit of know-how, you can quickly fix your wobbly toilet and get back to enjoying your bathroom.
Also, read- How to Plunge a Toilet- 6 Methods to Unclog Your Toilet
Tools and Materials Needed
Toilet shims are thin, wedge-shaped pieces of material that are used to level out uneven surfaces. Here are the tools and materials you may need in the shimming process.
- Tape measure
- Putty knife or utility knife
- Rubber mallet or hammer (optionally wrapped in a towel to prevent damage)
- Caulk gun
- Cordless drill (optional)
- 1/4″ x 2″ lag bolts (4)
- 1/4″ washers (4)
- Silicone caulk
- Sponge
Toilet Shims Installation: How Can You Shim a Toilet?

- Turn off the water to your toilet. There should be a shut-off valve near the base of the bowl.
- Flush the toilet to empty out the tank and bowl.
- Remove any old wax ring from the flange (the part of the drainpipe that sticks up from the floor).
- Place a new wax ring onto the flange, making sure it’s centered.
- Put the toilet bowl back onto the flange, being careful not to move it too much or jiggle it around too much (this could break the wax seal).
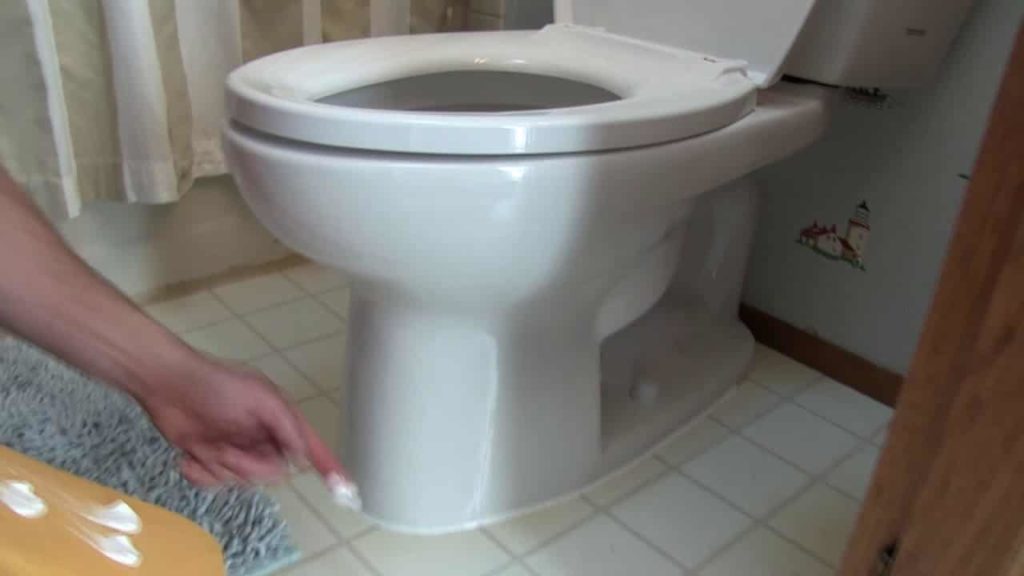
- Once the toilet is in place, put one shim under each side of the bowl, near where it meets the floor. The shims should be snug against both the floor and the bowl but shouldn’t be forcing the bowl up too high—you want it to be level, not tilted in any direction.
- Use your hammer to drive each shim into place until it’s flush with the floor and doesn’t wobble when you try to move it slightly with your hand.
- .If there are any gaps between the shims and the floor or bowl, use putty or caulk to fill them in so that water can’t seep through them later on down the line causing problems like mold growth or leaks under your bathroom tile.
- Once all of your shims are in place and level, turn on the water at the shut-off valve and allow enough water into the tank so that when you flush, there’s enough water available to completely fill up again.
- If everything appears to be working fine (no leaks, etc.), go ahead and put any final touches on your installation like screwing on decorative covers for mounting bolts or putting down new grout or caulk around your bathroom fixtures.
Still, Confused? More Methods
Method 1: Use Plumbers’ Putty
Roll a small amount of plumbers’ putty into a snake-like shape. Wrap the putty around the base of the toilet, making sure that you cover the entire circumference. Use your fingers to press the putty into place and smooth out any bumps or irregularities. Let the putty set for at least 30 minutes before moving on to the next step.
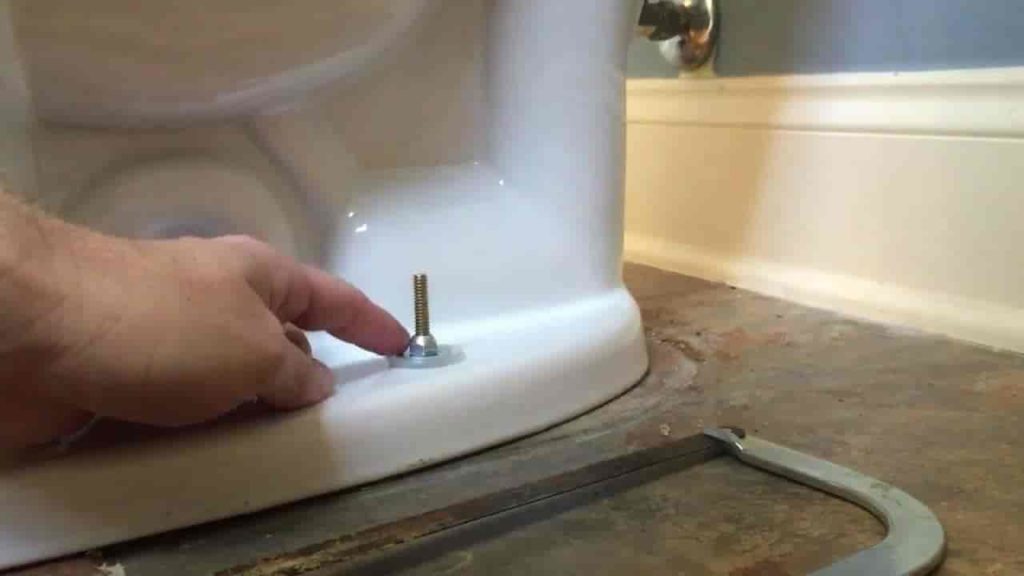
Next, use a pencil to mark the center of each lordship flange screw hole on the underside of the bowl. Remove the bowl and use a 1/8″ drill bit to create pilot holes at each mark. Place the bowl back on the flange, lining up the pilot holes with the screw holes in the flange. Insert a shank washer over each pilot hole and then screw in a lordship flange bolt until it is snug against the bowl. Replace the wax ring and tighten the bolts alternately until all are tight. Finish by reinstalling the tank and connecting the water supply line.
Method 2: Use Wood Toilet Shims
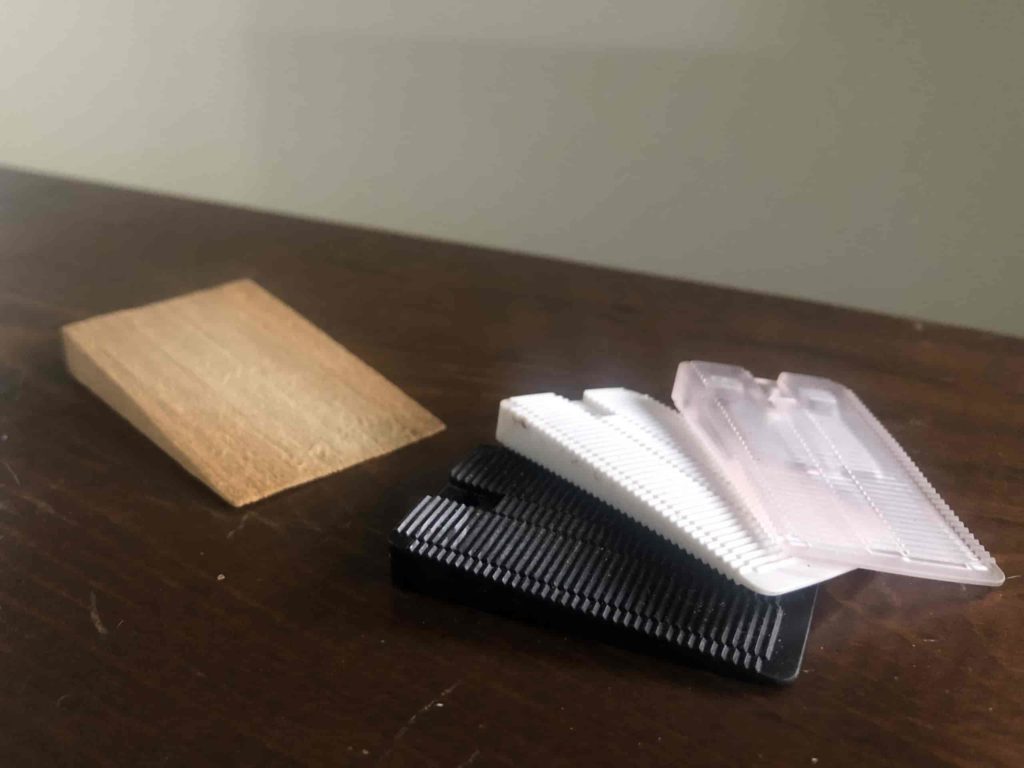
If you don’t have plumbers’ putty on hand or if you prefer not to use it, you can also use wood shims for the toilet. Start by removing the tank from the bowl so that you can access the underside of the bowl. Next, use a level to determine how much shimming is necessary. Once you know how much shimming you need, cut your wood shims for toilet to size using a handsaw or power saw.
Slide the toilet shims under the bowl so that they are evenly distributed and make contact with all four corners of the bowl. Be sure to leave enough shim material protruding from under the bowl. This helps you grab them when it’s time to remove them later on. Use a hammer to gently tap each shim into place until they are level with one another. Finish by reinstalling the tank and connecting the water supply line.
Method 3: Use Toilet Bolts With Shims Attached
This method is similar to Method 1. But instead of using separate wood toilet shims, you will attach your shims directly to your toilet bolts using epoxy glue or another strong adhesive. Start by removing your toilet tank so that you can access the underside of your bowl. Cut your wooden shims to size and then glue them directly onto your toilet bolts using epoxy glue or another strong adhesive such as gorilla glue. Allow ample time for your glue or adhesive to dry completely before proceeding to avoid any accidents later on down the road.
You may also like- How To Install A Toilet: Step By Step Tutorial Guide
Some Last Words
Learning how to shim a toilet is not as difficult as it may sound. With a little patience and the right tools, you can easily fix your wobbly toilet in no time. By following the steps outlined above, you should have no trouble getting your toilet back to its normal state. It’s not a difficult process, and once you know how it’s done, you can save yourself a lot of money by doing it yourself. Plus, it’s always satisfying to be able to say that you fixed something in your home without having to call a professional.
Frequently Asked Questions
Q1. How to fix a rocking toilet on tile?
The most likely reason a toilet is rocking on tile is that the flange is not level with the floor. To fix this, you will need to remove the toilet and reset it on a new wax ring. Be sure to apply pressure evenly around the entire circumference of the flange when setting the toilet back down, and make sure it is level before tightening the bolts. If there are any gaps between the flange and the tile, you can use caulk or putty to seal them. Once everything is level and secure, your toilet should no longer rock.
Q2. What can I use instead of plastic toilet shims?
If you’re shimming a toilet, you can use anything that’s thin and flat, like washers, coins, or even cardboard. The important thing is that the shim is wedged securely under the toilet so that it doesn’t move when you sit down.